
There are many adages that pertain to the life of a sound engineer. Murphy’s law states, “Anything that can go wrong, will go wrong;” “Hope for the best, but prepare for the worst;” “An ounce of prevention is worth a pound of cure.” These sayings are sage advice for the sound engineer, as all things will eventually break. Plan for when they do, and try to mitigate the severity of circumstances before they become dire.
Identify Problems
If you oversee the maintenance and operation of a sound system, you should make it a point to listen critically to the system as the event is wrapping up. You want to focus on overall sound quality and performance. The last thing you want is any surprises at your next gig, especially if you are mobile and going to be away from your warehouse or venue. If you hear anything that doesn’t sound right, make a note of it. I’ve labeled all my speakers, so I can jot down which ones are suspect and evaluate them in a better environment.
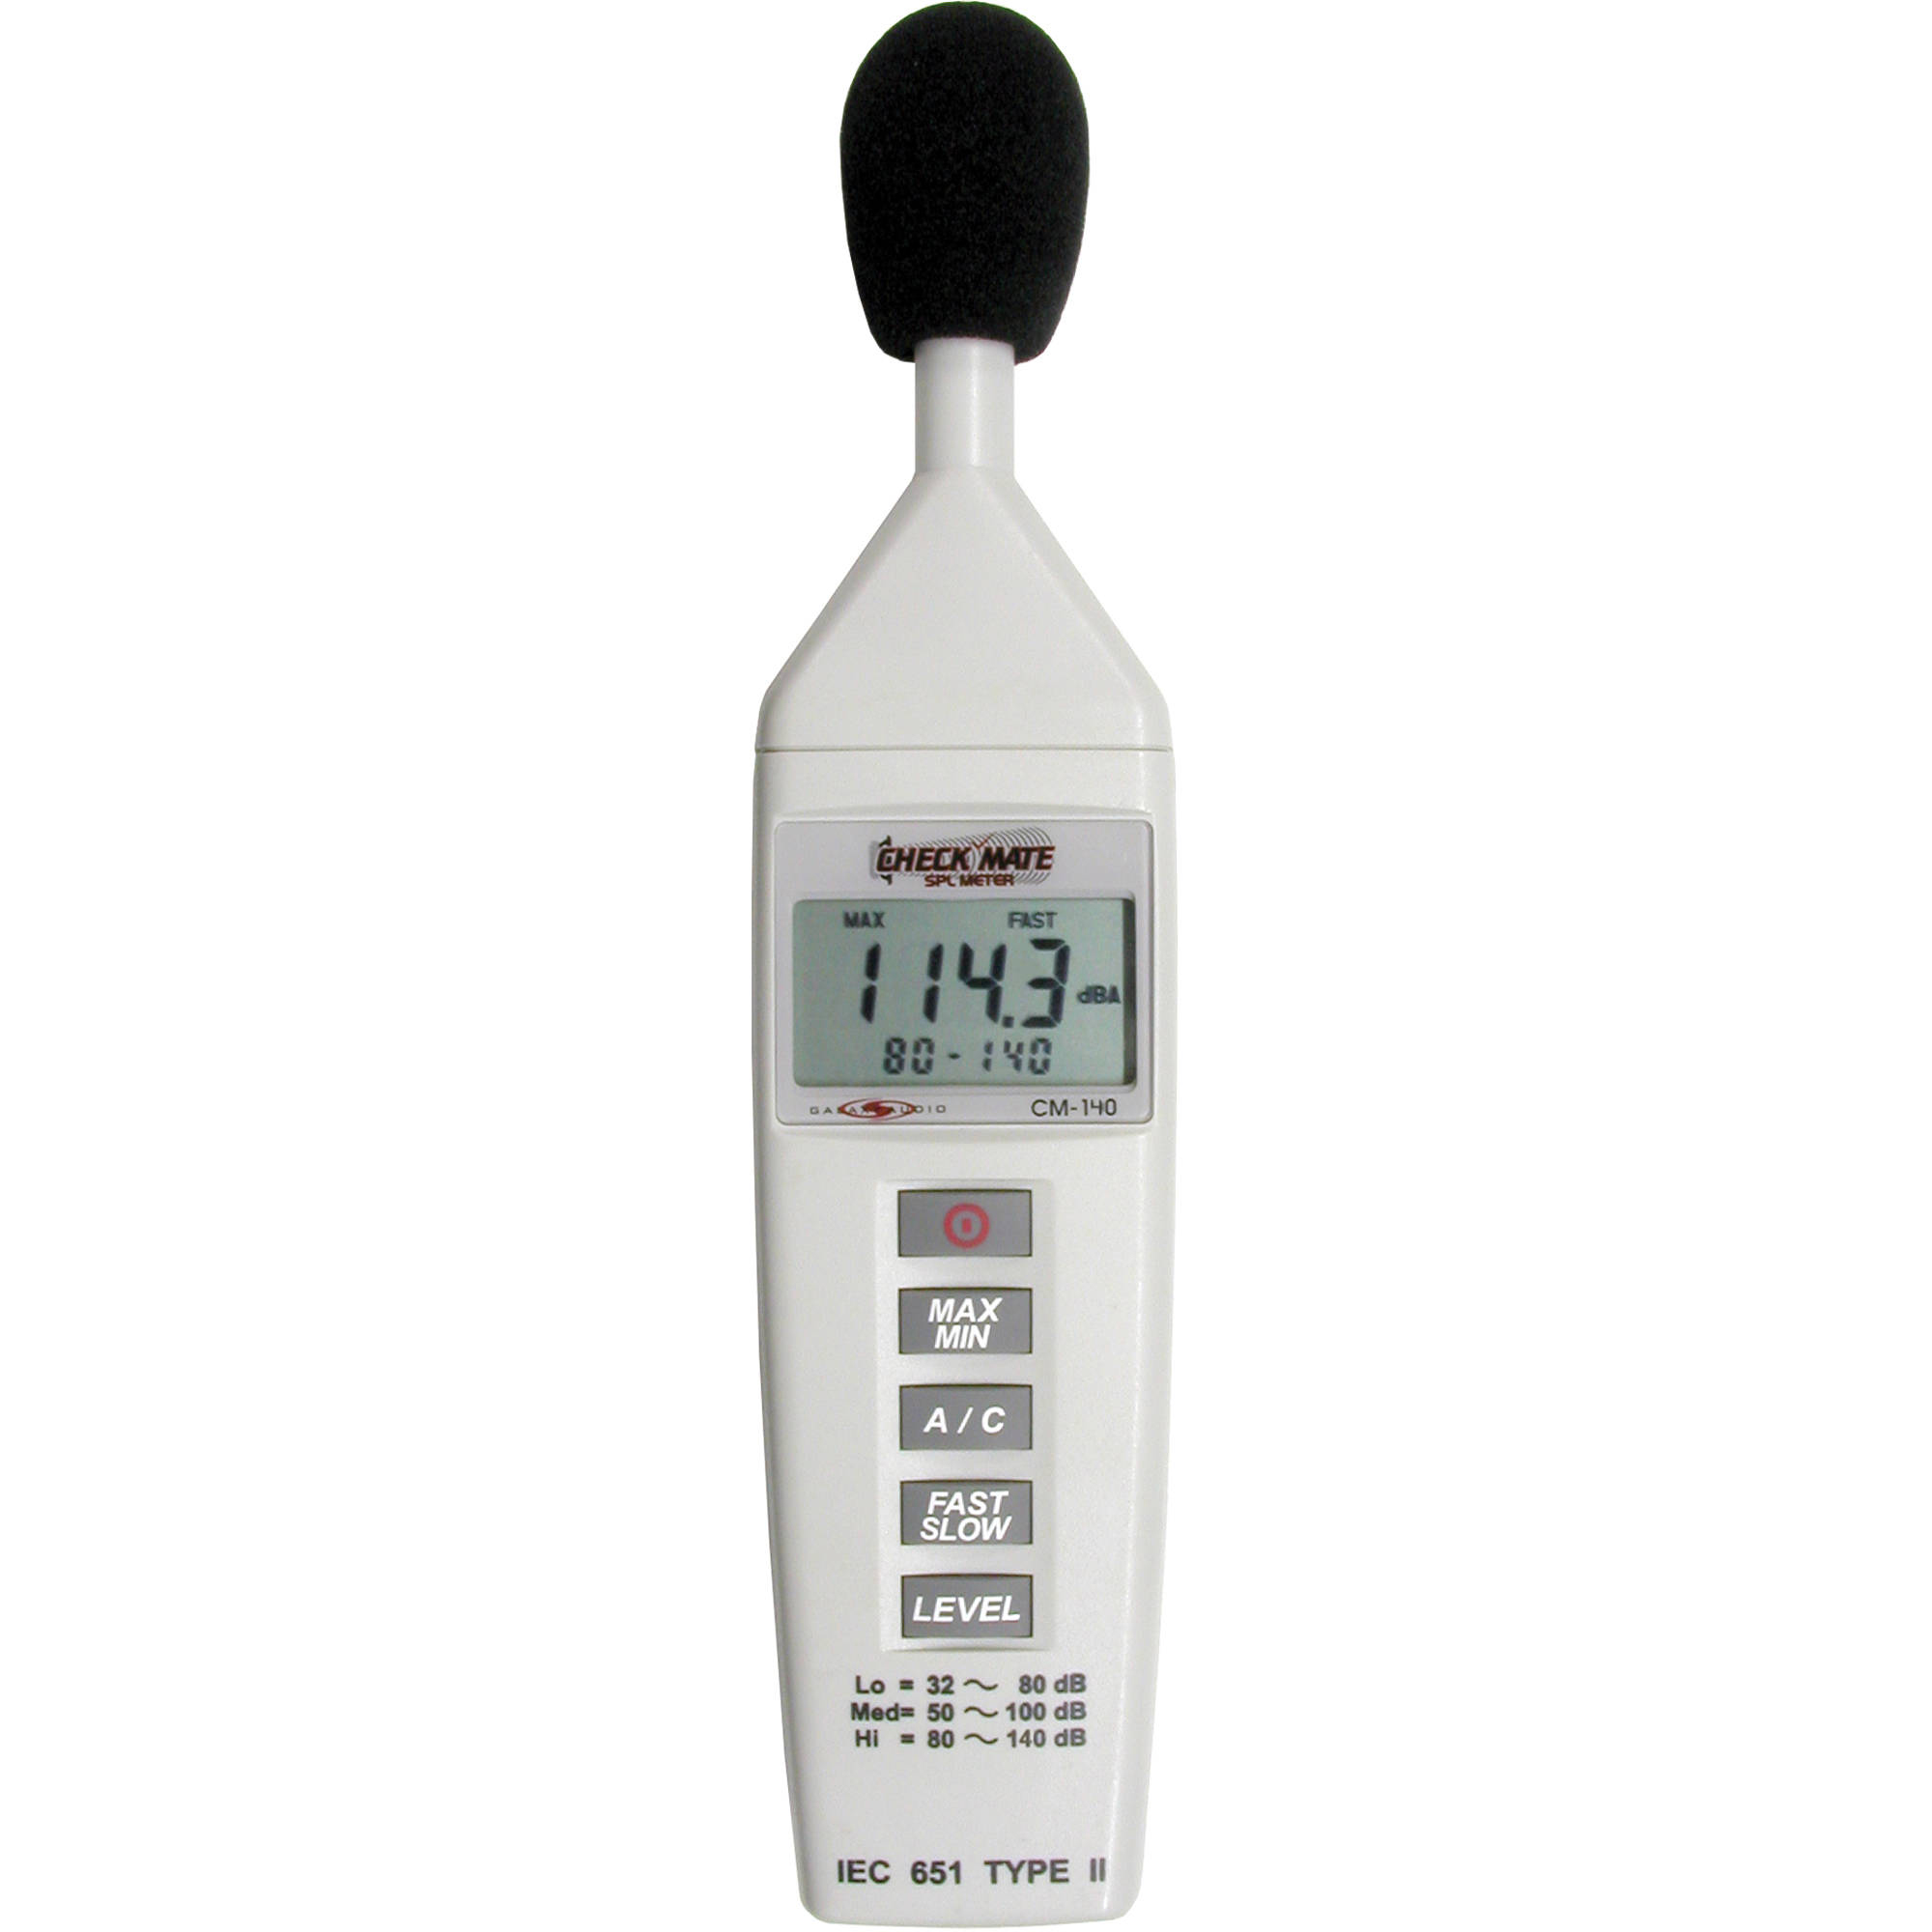
Subwoofers can be difficult to inspect, especially when deployed in clusters, since the drivers will act as passive radiators, which can fool you into thinking they are operating correctly. I typically use an SPL meter and evaluate each one. If it’s a dual-driver enclosure, your meter will read 3 to 6 dB lower in output when compared to a fully operation one. Recently, I discovered an issue with a powered subwoofer, where it is -12 dB lower when compared to the other subs in a stack. I would have probably missed it since it was producing sound, but what clued me to the issue was the lack of metering on the plate amplifier. Further inspection with an SPL meter revealed that there was an issue that needed to be addressed.
Preventive Measures
Some of the newer amplifiers on the market have built-in measurement displays that tell you what any given speaker’s ohm rating is. This is hugely beneficial because you can simply look at a computer screen and see which drivers are in danger of failing. If are working with “old school” workhorse amplifiers without DSP, etc., you can still evaluate any given speaker’s performance by using a multimeter. A simple, but less accurate method is to place the multimeter’s probes on the positive and negative poles of the driver. Set the meter to Ohms and to a low setting. Typically, you will get a reading that is 15% to 20% less than the rated ohm of the speaker. For example, a working 8 Ohm driver will show 6 to 7 Ohms on a multimeter. This will get you into the ballpark for quick and dirty measurements. There are more accurate methods, but they involve signal generators and constructing a special cable with resistors, but this is beyond the scope of this article.

Another highly useful tool is to use a software program like SMAART, which provides professional measurements of your systems components. Programs like this are highly beneficial in the setup and maintenance of a system because they can calculate delay times, check for polarity issues, and can help evaluate what the room is doing to the audio signal by way of a transfer function. I highly recommend the investment—this will help your system to sound its best in any situation. Many speaker manufacturers will also use this software when evaluating their speaker designs, because it also tests for THD, impedance plots, and polarity. This is a quick and accurate way to evaluate each speaker in your rig.
![]()
Disaster in the Field: Don’t Panic
When things go wrong at the beginning or in the middle of the event, don’t panic! Try to remain calm. Freaking out will only cloud your judgement and prevent you from finding a solution. If you are setting up and notice that one of your amplifiers isn’t passing signal or has completely gone “off-line,” what do you do? Hopefully, you have brought a backup amplifier. Or if you have a blown speaker, do you have a replacement driver with you? Having backups is crucial. It’s a pain to bring extra gear, but it’s always better to have something and not need it than the other way around.
If your amplifier isn’t working and you don’t have a backup, can you add the speaker to an existing amplifier’s channel? It may not be the most ideal solution, but it’s better than nothing. Figure out if this is possible beforehand by calculating the power requirements and ohm ratings when doubling up on speakers. For instance, if your sub is rated at 2000W at 4 Ohms, what will happen if you connect an additional sub to the same channel? 4000W at either 8 Ohms or 2 Ohms, depending on the wiring. If your amplifier can handle 2 Ohms, then you’ll want to wire the two subs in parallel, which would drop the load to 2 Ohms. If your amplifier doesn’t handle loads at 2 Ohms, then you’ll have to wire the subs in series, which will result in an 8 Ohm load. Be careful—I’ve mis-wired a speaker and dropped the output to 1 Ohm, which fried the amplifier. Hard lessons learned.

If your amplifier outputs 2000W, then each subwoofer will receive ½ its normal power. Will this damage your speaker’s drivers? Keep in mind, it’s easier to destroy a speaker by under-powering it than it is to overpower it. If you are under-powering a speaker, you will push the amplifier to get as much sound out of it as possible, often resulting in clipped signals, distortion, and eventually failure. I take a different approach, where I use amplifiers that are over-spec’d. I’m careful to set my gain so that I’m not overpowering the speaker, but the benefits are an amplifier with lots of headroom, which eliminates distortion and keeps the amplifier from going thermal (overheating). And, in this example of adding another speaker to the same output, I’m able to provide enough power to both speakers to make the effort worthwhile.
Parallel wiring is usually easy, since most pro-audio speakers will have a pass-thru, which is designed for this very purpose. Or you could make a special “Y” cable, where you split the signal at the amplifier’s output. If you need to wire in series, it’s a bit tricky, but it can be done. Wiring in series involves connecting the positive terminal of the amp to the positive terminal of speaker 1. The negative terminal of speaker 1 is connected to the positive terminal of speaker 2, while the negative terminal of speaker 2 is connected to the negative wire that leads back to the amplifier. This makes things tricky if you have a SpeakOn connector, but it can be done with a pre-made cable. The other alternative is to open the back of the speaker panel to gain access to the internal cabling.

In conclusion, always get the best gear you can afford. If you can’t afford the same amplifiers for a backup, then look at budget solutions, which can be had at reasonable costs. They may not be as good as your “A-list” equipment, but will save the day when things go south. The old adages are true. Expect things to break at some point and work out a “Plan-B” and “Plan-C.” The ounce of prevention will save you a ton of headaches down the line, so do your due diligence and maintain your equipment.
